Change Store Email Addresses - Mageplaza
How to insert Order Attributes to Transactional Emails
Vinh Jacker | 09-17-2024

How to insert Order Attributes to Transactional Emails
Step 1: Take the Order Attribute code
- Admins need to go
Sales > Order Attributes > Manage Attributes, edit Order Attributes that you want to add to the email. Copy Attribute code of Order Attribute.

Step 2: Create an email template
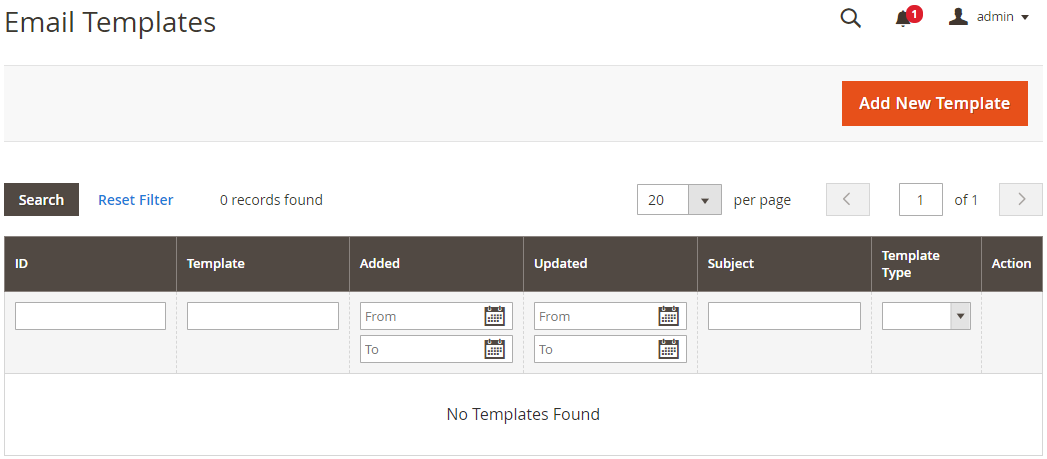
Go to Marketing > Communications > Email Template, choose Add New Template (or edit the template you want)
- Load Template of New Order Email
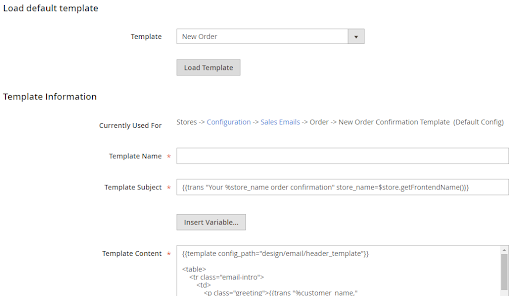
Insert Order Attribute to the template on any positions that you want. Please follow the structure below:
- For
Input Type = Text, Text Area, Date, Content, Media Image, Single File Attachment
{{depend order.getOrderAttrText1()}}
     <p>{{var order.getOrderAttrText1Label()}} {{var order.getOrderAttrText1() |raw}}</p>
{{\depend}}
- For
Input Type = Yes/No, Dropdown, Multiple Select, Single-select with Image, Multiple-select with Image
{{depend order.getOrderAttrText1Option()}}
     <p>{{var order.getOrderAttrText1Label()}} {{var order.getOrderAttrText1Option() |raw}}</p>
{{\depend}}
- For
Single File Attachment, when inserting this code, the attachment will show in the email under the link format. Customers can click on the link to download this file.
{{depend order.getOrderAttrText1()}}
     <p>{{var order.getOrderAttrText1Label()}}: <a target="_blank" href="{{var order.getOrderAttrText1Url()}}">{{var order.getOrderAttrText1Name()}}</a></p>
{{/depend}}
- For
Media Image, when inserting this code, Media Image is displayed in the email. Customers can click on the link to open the image in a new tab.
{{depend order.getOrderAttrText1()}}
     <p>{{var order.getOrderAttrText1Label()}}: <a target="_blank" href="{{var order.getOrderAttrText1Url()}}"><img title="View Full Size" alt="{{var order.getOrderAttrText1Name()}}" src="{{var order.getOrderAttrText1Url()}}" /></a></p>
{{/depend}}
In case: Depend tag is used to check whether if the attribute is empty or not, if yes, it will not show the HTML code. OrderAttrText1 is an Attribute code that is capitalized every first letter.
For example:
- For Order Attribute as
Input = Date, attribute code isdelivery_time, so you need to add the following code:
{{depend order.getDeliveryTime()}}
   <p>{{var order.getDeliveryTimeLabel()}} {{var order.getDeliveryTime() |raw}}</p>
{{/depend}}
- For Order Attribute as
Input = Dropdown, attribute code ischoose_gift_wrap, so you need to add the following code:
{{depend order.getChooseGiftWrapOption()}}
   <p>{{var order.getChooseGiftWrapLabel()}} {{var order.getChooseGiftWrapOption() |raw}}</p>
{{/depend}}
- For Order Attribute as
input = Single File Attachment, attribute code isattachment, so you need to add the following code:
{{depend order.getAttachment()}}
     <p>{{var order.getAttachmentLabel()}}: <a target="_blank" href="{{var order.getAttachmentUrl()}}">{{var order.getAttachmentName()}}</a></p>
{{/depend}}
- For Order Attribute as
input = Media Image, attibute code ismedia_image, so you need to add the following code:
{{depend order.getMediaImage()}}
     <p>{{var order.getMediaImageLabel()}}: <a target="_blank" href="{{var order.getMediaImageUrl()}}"><img title="View Full Size" alt="{{var order.getMediaImageName()}}" src="{{var order.getMediaImageUrl()}}" /></a></p>
{{/depend}}
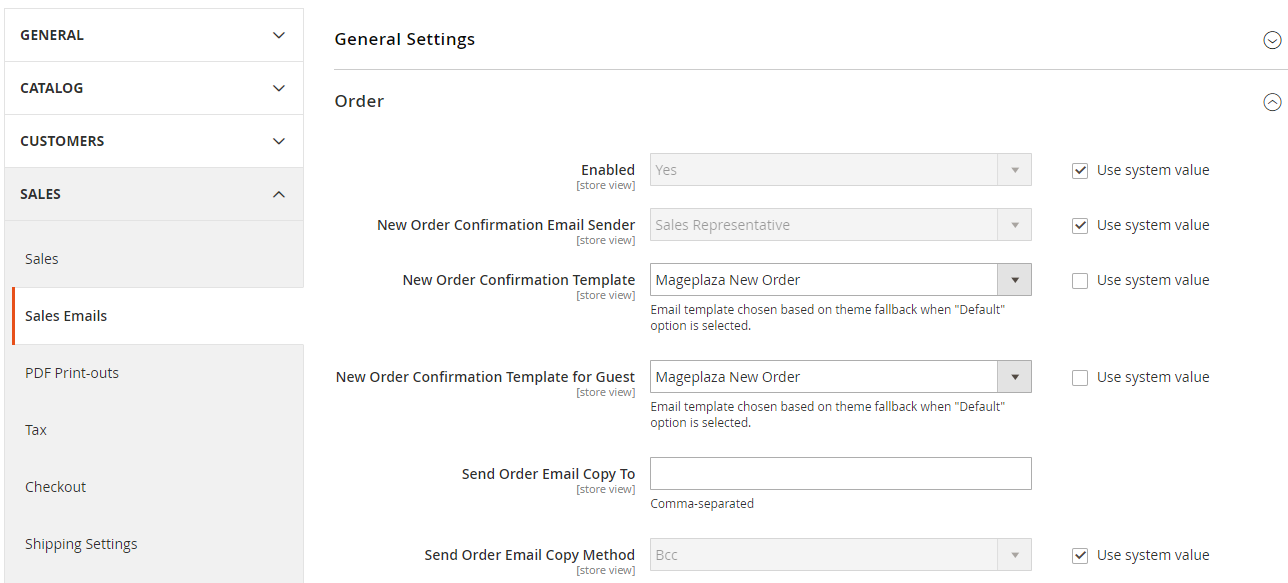
Step 3: Apply the Email Template that you just created
- Go to
Stores > Settings > Configuration, chooseSales > Sales Emails - In the New Order Confirmation Template, choose the Email Template you just created
Step 4: Check
- Place the order on the frontend
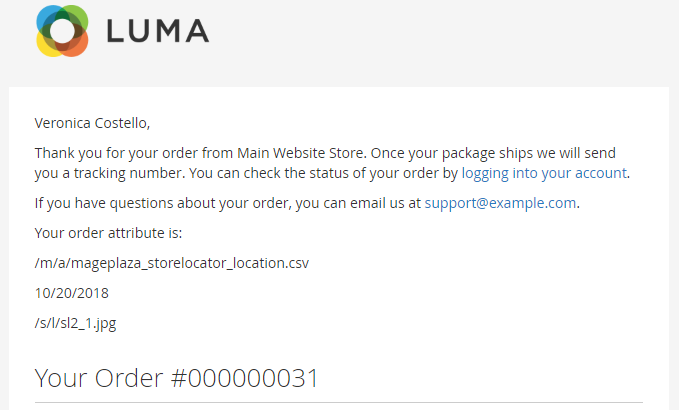
- Check the email that the system has just sent to customers
